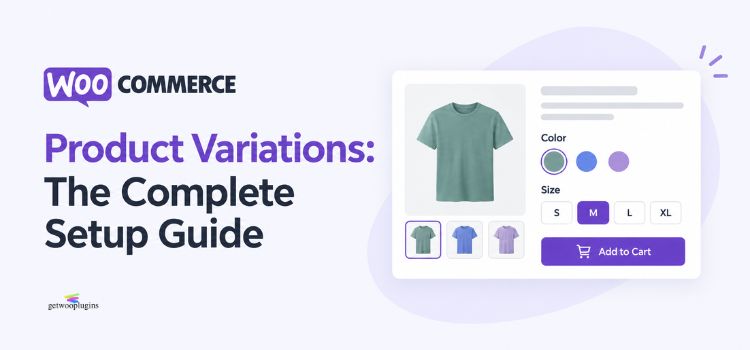
WooCommerce product variations let you sell one product in multiple versions – different sizes, colors, or materials – from a single product page, instead of creating a separate listing for each option. A T-shirt in three sizes and four colors becomes one product with up to 12 variations, each with its own price, stock, SKU, and image.
This guide walks through the native WooCommerce setup step by step, the mistakes that trip up most store owners, and where the built-in dropdown starts to fall short.
Variations vs. Attributes vs. Terms: What’s the Difference?
Before touching any settings, it helps to know these three words, because WooCommerce uses all three and they are not the same thing.
| Term | What it means | Example |
|---|---|---|
| Attribute | The category of choice | Size, Color, Material |
| Term | One option inside an attribute | Small, Red, Cotton |
| Variation | One buyable combination of terms | Small + Red = one variation with its own price and stock |
A product with 3 sizes and 4 colors can have up to 12 variations (3 × 4). You don’t have to create all of them – WooCommerce lets you generate only the combinations you actually sell.
Global Attributes vs. Custom (Product-Level) Attributes
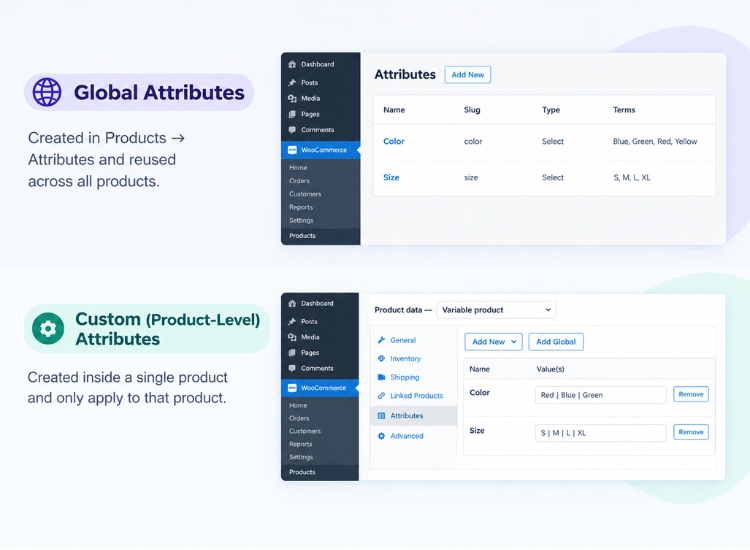
WooCommerce gives you two ways to create an attribute:
- Global attributes (Products → Attributes) are reusable across every product in the store. Create “Color” once, and every variable product can pull from the same list of color terms. This is the right choice if more than one product shares the same options.
- Custom (product-level) attributes are created inside a single product’s Attributes tab and only apply to that one product. They’re faster for a one-off product but can’t be reused elsewhere, and swatch plugins generally need the premium tier to turn these into visual swatches, since global attributes are the default assumption.
For a store with more than a handful of variable products, global attributes save time later, even if custom attributes feel quicker on day one.
How to Set Up WooCommerce Product Variations (Step by Step)
Step 1: Create the Attribute (Global, the Recommended Way)
Most stores should create attributes as global attributes first, then add them to products – this is the path that lets swatch plugins, filters, and future products all reuse the same setup. For the full official walkthrough, see WooCommerce’s own guide to managing attributes.
- Go to Products → Attributes in the WordPress admin menu (this is separate from any single product – it’s a store-wide settings screen).
- Under “Add new attribute,” fill in:
- Name – what shows to customers, e.g., “Color”
- Slug – auto-fills from the name; leave it unless you need a custom URL-safe version
- Enable archives – check this only if you want a browsable page listing all products with a given term (e.g., a “/color/red/” page); most stores leave it unchecked
- Click Add attribute. It now appears in the attribute list on the right.
- Click Configure terms next to the new attribute.
- Add each option one at a time under “Add new [Attribute]”: a Name (e.g., “Red”), and optionally a description. Click Add new [Attribute] after each one.
Repeat this whole process for every attribute the store needs (Size, Material, and so on). This only has to be done once per attribute – every product that needs “Color” going forward reuses the same list.
Step 2: Create the Product as “Variable Product”
Go to Products → Add New. In the Product data dropdown, change the type from “Simple product” to “Variable product.” This unlocks the Attributes and Variations tabs.
Step 3: Add the Attribute to the Product and Mark It “Used for Variations”
- On the product’s edit screen, open the Attributes tab.
- From the dropdown, select the global attribute you just created (e.g., “Color”) and click Add.
- Under “Values,” select which of that attribute’s terms apply to this specific product (a product doesn’t have to use every term that exists globally – a store might have 10 colors defined, but only 4 apply to this one T-shirt).
- Check the box “Used for variations.” This is the step almost everyone forgets, and without it, WooCommerce has nothing to build variations from – the attribute will show as plain text on the product page instead of a selectable option.
- Click Save attributes before moving to the Variations tab. Skipping this save is the second most common setup mistake – the Variations tab will look empty or out of date until attributes are saved.
Skipping the global step: it’s also possible to type an attribute directly into a product’s Attributes tab as a one-off “custom product attribute,” without ever visiting Products → Attributes. This works for variations too, but the attribute won’t be reusable on other products, and – as covered below – most swatch plugins treat these product-level attributes as a premium-only case.
Step 4: Generate the Variations
- Open the Variations tab.
- Choose “Create variations from all attributes” to auto-generate every combination, or add variations one at a time if you only sell some combinations.
- Each variation appears as a collapsible row.
Step 5: Set Price, Stock, SKU, and Image Per Variation
Click a variation row to expand it, then fill in:
- Regular price / Sale price – can be different for every variation (e.g., Large costs more than Small)
- SKU – a unique code per variation, useful for inventory tracking
- Manage stock? – check this to track quantity for that specific variation instead of the whole product
- Image – set the picture for that variation.
- Shipping class – set only if this specific variation needs different shipping rules than the parent product (e.g., a heavier size)
- Description – an optional short note shown only for that variation; most stores leave this blank
- Enabled – unchecking this hides just that one variation from customers without deleting it, useful for a size that’s temporarily discontinued
You can also set which combination loads by default when a customer first opens the product, from the Attributes tab’s “Default Form Values” – helpful for steering customers toward your best-selling or most in-stock option.
Step 6: Publish and Test
Publish the product, then open it on the front end. Pick each attribute combination and confirm the price, stock status, and image update correctly.
Common Setup Mistakes (and How to Avoid Them)
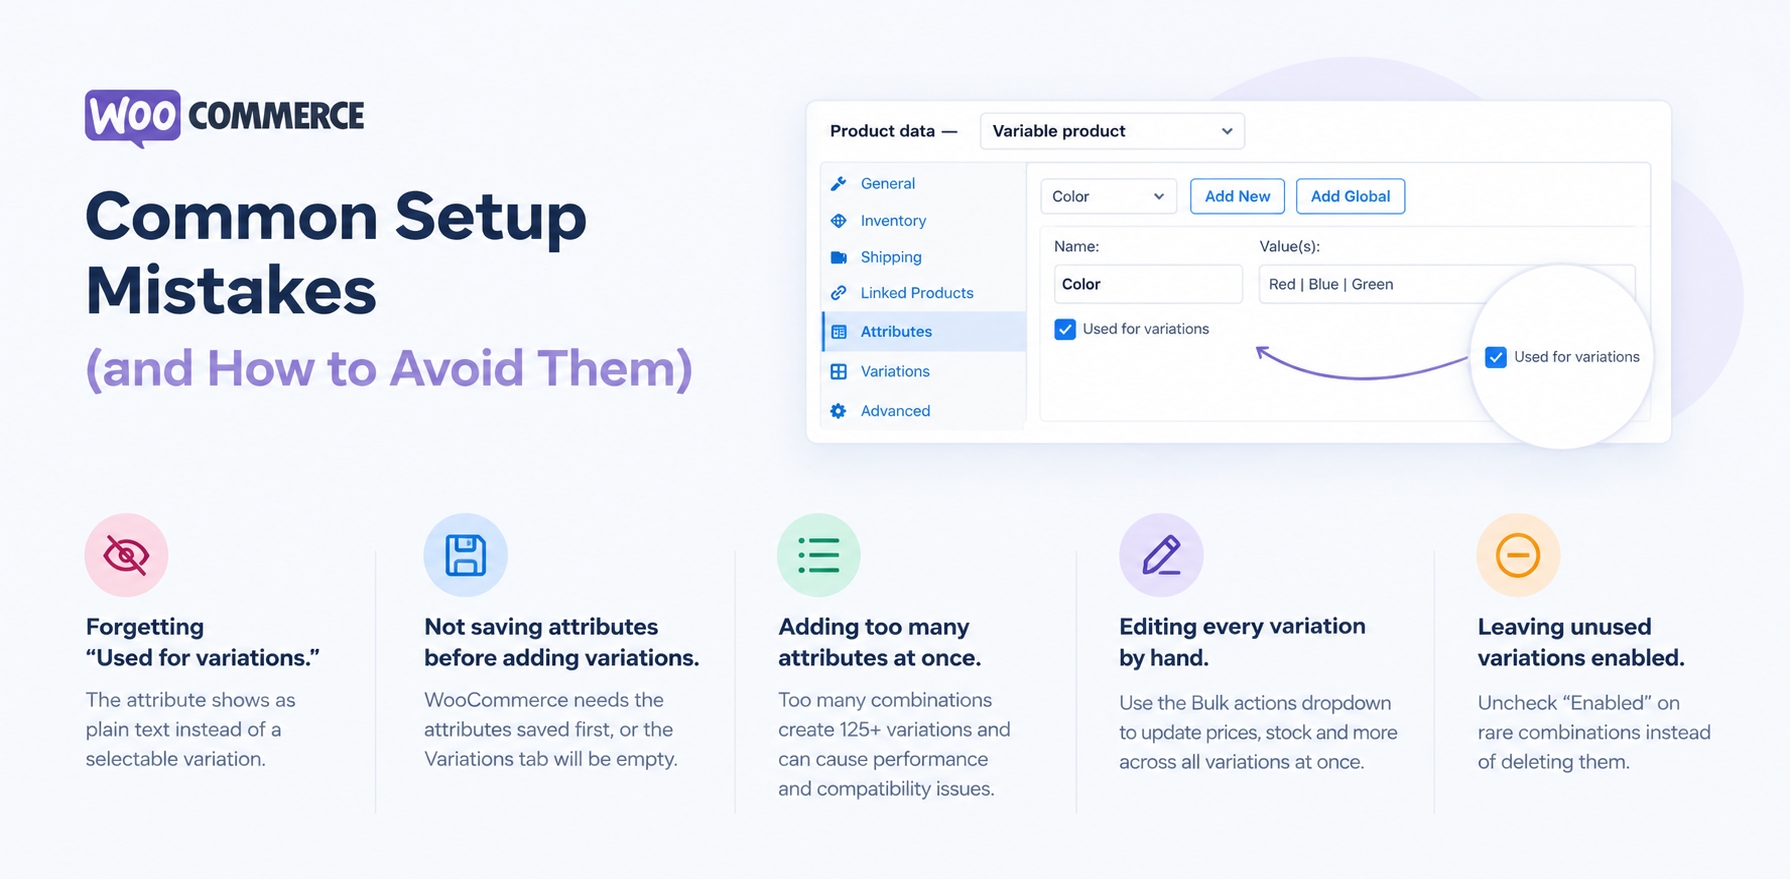
- Forgetting “Used for variations.” If this box is unchecked, the attribute shows on the product page as plain text but never turns into a selectable variation.
- Not saving attributes before adding variations. WooCommerce needs the attributes saved first, or the Variations tab won’t have anything to pull from.
- Adding too many attributes at once. Three attributes with 5 options each creates 125 possible variations. Past roughly 30 variations, WooCommerce switches to AJAX loading, and hand-written customizations (custom CSS, some snippets) commonly stop working as expected – see WooCommerce’s official variable product documentation for the full behavior at that threshold.
- Editing every variation by hand. For a large set of variations, opening each row individually to change price or stock is slow. WooCommerce’s Bulk actions dropdown at the top of the Variations tab (Set regular prices, Set sale prices, Toggle “Manage stock,” Set stock quantity, and more) applies a change to every variation at once, and is worth using before your first sale, not after.
- Leaving unused variations enabled. If two attributes rarely appear together in real stock, uncheck “Enabled” on that row instead of deleting it – it stays hidden from customers but the setup remains ready if that combination becomes available again.
Is the Default Setup Enough? (Being Honest About It)
For a small catalog – a handful of products with two or three attributes each – the native dropdown works fine. It’s free, requires no extra plugin, and covers price, stock, and SKU per variation without any limitations.
Where it starts to strain is the customer-facing experience, not the setup itself. A plain dropdown list doesn’t show colors, doesn’t preview images, and gives customers no visual cue about what they’re picking – especially awkward for stores selling on color or pattern.
There’s also a hard technical wall here: browsers don’t allow CSS styling – no custom colors, no blur effect, no cross-out – inside a native <select> element. That’s not a WooCommerce limitation; it’s how dropdowns work in every browser. So visually improving the dropdown always requires replacing it with something else.
Turning Variations into Visual Swatches
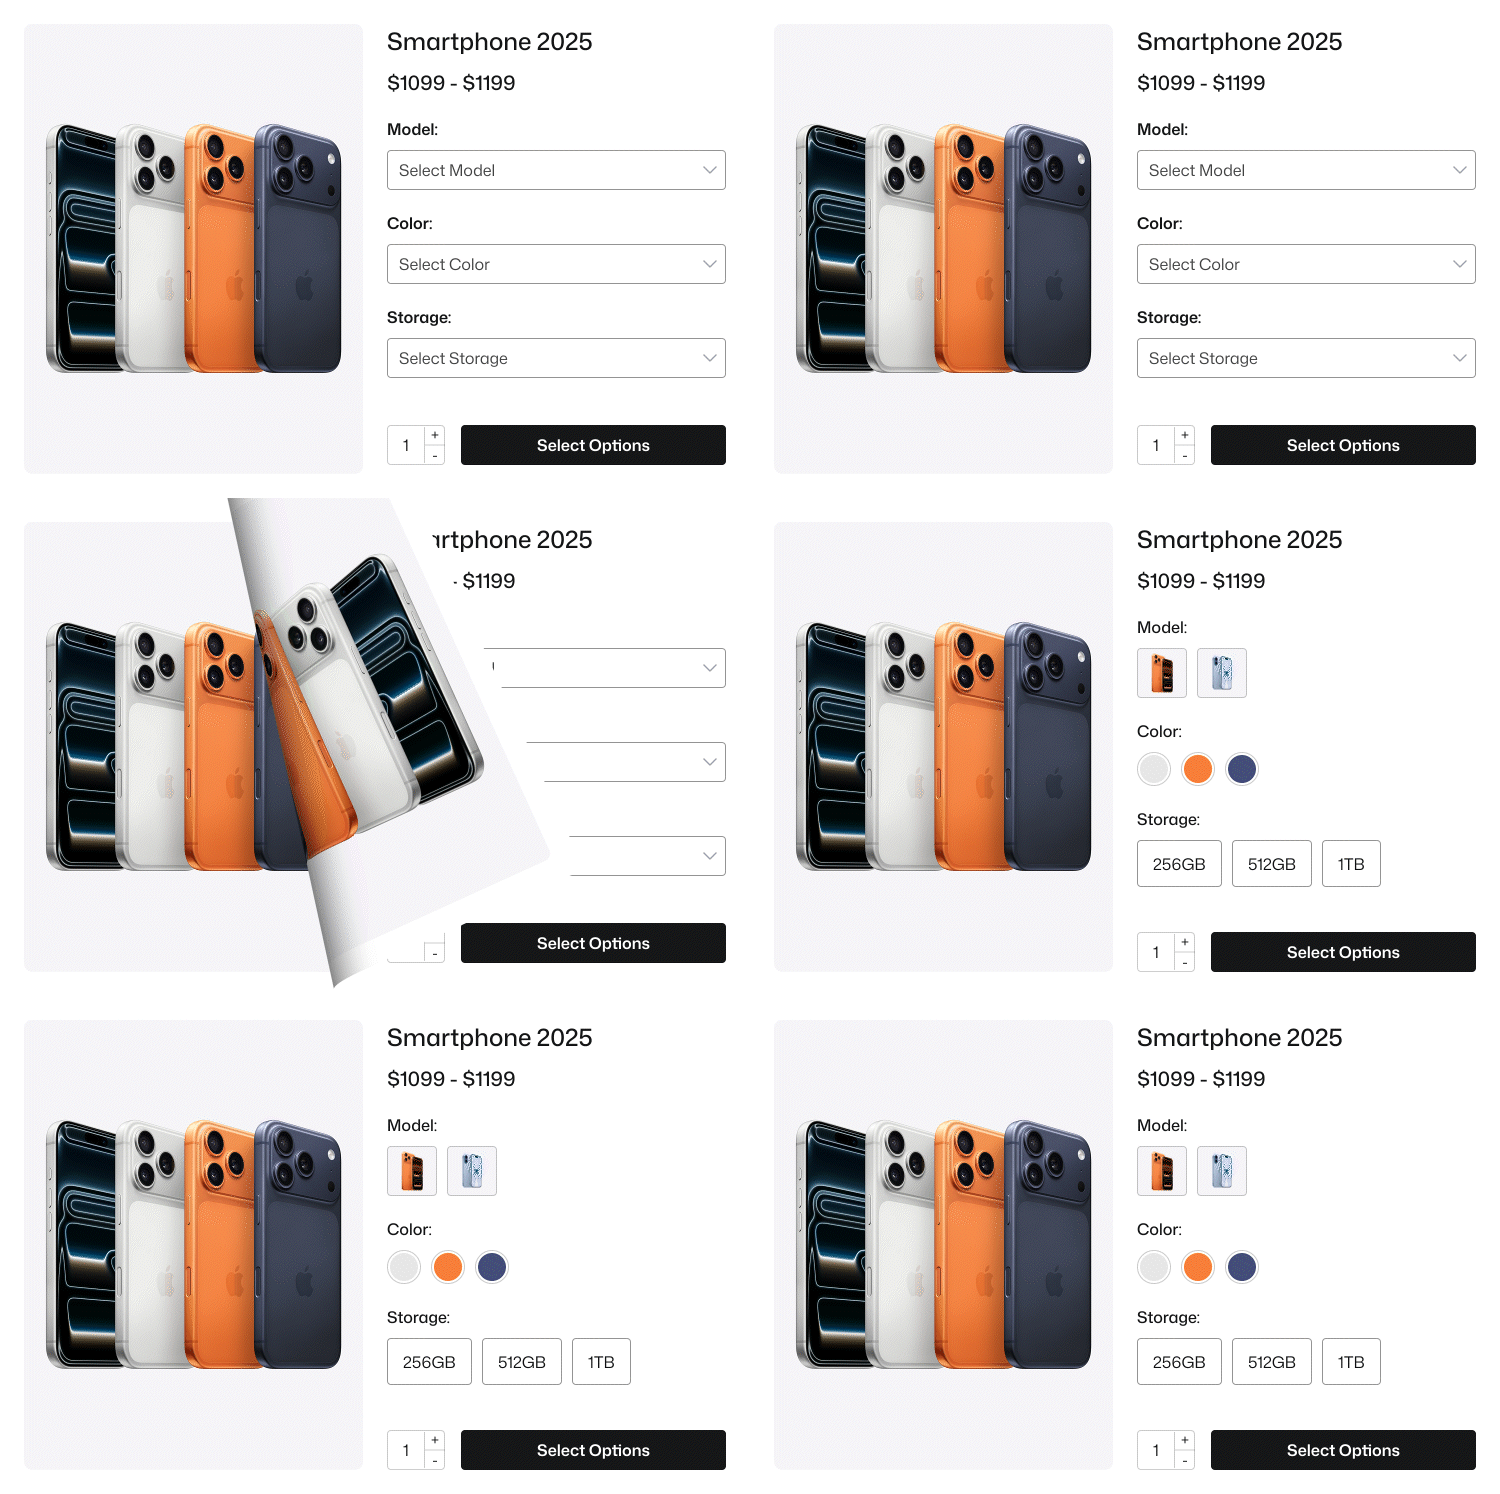
Once the dropdown becomes the bottleneck, the common next step is a plugin that converts those same attributes into color, image, or button swatches – without changing anything about the variation setup already done.
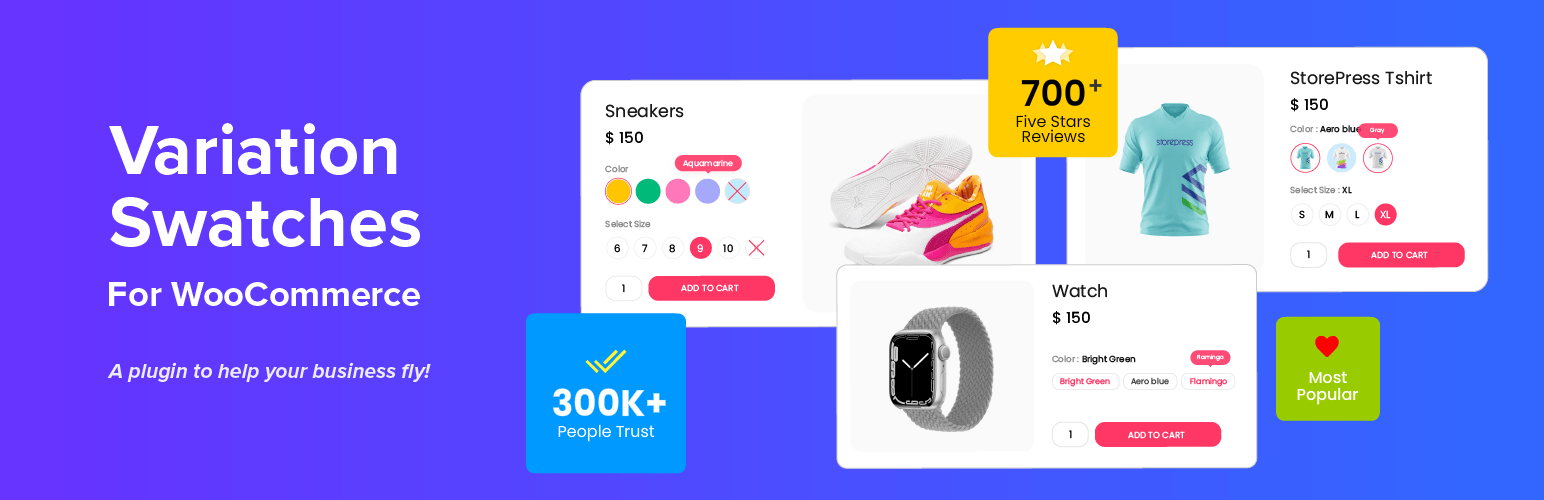
Variation Swatches for WooCommerce does exactly this: it reads the attributes and terms already created in the steps above and displays them as swatches instead of a dropdown, automatically, right after activation. If color specifically is the attribute you’re working with, our guide to color swatches covers that setup in more depth.
What’s Free vs. What Needs the Premium Version
| Feature | Free | Premium |
|---|---|---|
| Auto-convert dropdowns to button swatches | ✅ | ✅ |
| Color, image, and label/button swatch types | ✅ | ✅ |
| Rounded or square swatch shapes | ✅ | ✅ |
| Auto-detect color hex from a typed color name | ✅ | ✅ |
| Cross-out, blur, or hide out-of-stock variations | ✅ (up to ~30 variations, requires WooCommerce’s “Hide out of stock items from the catalog” setting enabled) | ✅ (unlimited variations, no catalog setting required) |
| Swatches on shop/category/archive pages | ❌ | ✅ |
| Radio button swatch type | ❌ | ✅ |
| Swatches for custom, product-level attributes | ❌ | ✅ |
| Dual-color swatches (two colors in one swatch) | ❌ | ✅ |
A note on the color-name feature: typing a color name (like “forest green”) instead of opening a color picker works through an external lookup service (StorePress Color API). It’s off by default – you turn it on from the plugin’s settings, and with it disabled, the plugin makes no outside requests at all.
Frequently Asked Questions
What is the difference between a WooCommerce attribute and a variation?
An attribute is the category (like Color). A variation is one specific, buyable combination of attribute values (like “Color: Red, Size: Medium”), each with its own price and stock.
How many variations can one WooCommerce product have?
There’s no hard cap, but WooCommerce switches to AJAX loading past roughly 30 variations, and performance and custom code can start to behave differently beyond that point.
Can each variation have a different price in WooCommerce?
Yes. Every variation has its own Regular price and Sale price fields, independent of the parent product’s displayed price range.
Can I use a different image for each variation?
Yes. Every variation has its own primary image field, and on newer WooCommerce versions, each variation can also hold a native gallery of extra images, not just one photo – see WooCommerce’s 11.1 release notes for exactly when this rolled out. On older WooCommerce versions, only a single image per variation is available.
What does WooCommerce’s native variation gallery not cover yet?
Video (YouTube, Vimeo, or self-hosted), thumbnail slider styling, image zoom, lightbox popups, and 360-degree product views aren’t part of the native feature – it currently handles a plain set of images and nothing more.
For stores that sell on visual detail (fashion, furniture, jewelry), that gap is exactly what Additional Variation Images Gallery for WooCommerce is built for: it adds video per variation, a customizable slider or grid, zoom, lightbox, and drag-and-drop ordering, on top of whatever image setup a store already has.
Why isn’t my attribute showing up as a variation option?
The most common reason is the “Used for variations” checkbox wasn’t checked when the attribute was created, or the attribute wasn’t saved before variations were generated.
Can I turn variation dropdowns into color swatches without coding?
Yes. A plugin like Variation Swatches for WooCommerce converts existing attributes into swatches automatically, with no code required – it uses the same attributes already set up.
Do out-of-stock variations get hidden automatically?
Not by default. WooCommerce shows all variations regardless of stock status unless a plugin or custom code intervenes.
Is a variable product different from a grouped or bundle product?
Yes. A variable product is one item with attribute-based options (size, color). Grouped and bundle products link multiple separate products together, which is a different WooCommerce product type entirely.
Can I bulk edit WooCommerce variations instead of updating each one?
Yes. The Variations tab has a “Bulk actions” dropdown that can set prices, toggle stock management, or set stock quantity across every variation of a product at once.
What is a default variation in WooCommerce, and can I set one?
It’s the combination shown when a customer first opens the product page, before they make a selection. You can set it under the Attributes tab’s “Default Form Values” field – useful for pointing shoppers toward a best-seller.

