Your WooCommerce store is an invaluable asset to your online business, and you should always be careful when touching it. That’s why having a staging environment for your WordPress site is something you can’t afford to miss.
If you want to create a staging site for your WordPress WooCommerce site but are unsure where to start, you are in the right place.
This guide will help you learn how to create a staging environment for your WordPress website. Besides, we’ll discuss the benefits and best practices of having a staging site for your WooCommerce store.
“Without a staging site, you are essentially going in blind every time you tweak your site.”
Before getting into the stuff, let’s look at what exactly a staging website is and what it means for your WooCommerce store.
What is a staging site?
Ideally, creating a staging site is smart when your website generates income, provides any service or has users who depend on it. But it is essential for any WooCommerce store owner.
Maintaining a WooCommerce store is a never-ending process. Even after you’ve built your website, you’ll likely continue to update and make adjustments regularly. That means you need to find a way to test those changes without any negative impact on your website.
A WooCommerce staging site is a clone of your existing site with two key differences:
- It’s not publicly shared
- Any changes you make do not affect your live site.
The fact is, sooner or later, the core software or a third-party plugin will conflict with something. That’s where you need a staging environment. It allows you to make changes to your WooCommerce store without fear of impacting sales.
Top benefits and drawbacks of using a staging site
Many benefits come with a WooCommerce staging site. The main benefit is you can provide your audience with the best representation of your brand. Just imagine, they had to come onto your site and notice that certain features don’t work.
For example, the Buy Now buttons are not working on your online store, and that means shoppers are not able to make their purchases. For that, you are missing some major business.
Some benefits of using a staging site are:
- You can optimize your user experience.
- Help you to protect your website’s SEO ranking.
- Depending on your preferences, you can set up online or locally.
- Usually simple to create and enable you to produce better websites.
- Perfect place to fix any bugs, errors, and critical issues without putting your site at risk.
Some drawbacks of having a staging site:
- Make it longer to update websites.
- WordPress hosts and plugins often charge a fee for their service.
- Sometimes it can be complicated and time-consuming to set up.
When you are trying to build a staging environment, there’s a good chance of experiencing drawbacks. However, the benefits outweigh the drawbacks. However, using the right staging solution can overcome all these downsides.
Now let’s take a look at the different staging options.
How to create a WordPress WooCommerce staging site
There are several ways to create a staging site for WordPress WooCommerce website. The easiest of them is to use your hosting provider’s built-in staging site feature.
01. Create a staging site using a WordPress plugin
There’s a plugin for just about everything when it comes to WordPress, and a plugin for staging is no exception. There are a few popular useful staging plugins available for cloning your website.
There’s a plugin called WP Staging that helps create a staging site. It’s a good option for checking a plugin or theme compatibility or testing out basic tweaks.
To use WP staging plugin –
- Head to your WordPress admin dashboard.
- Install and Activate the WP Staging plugin.
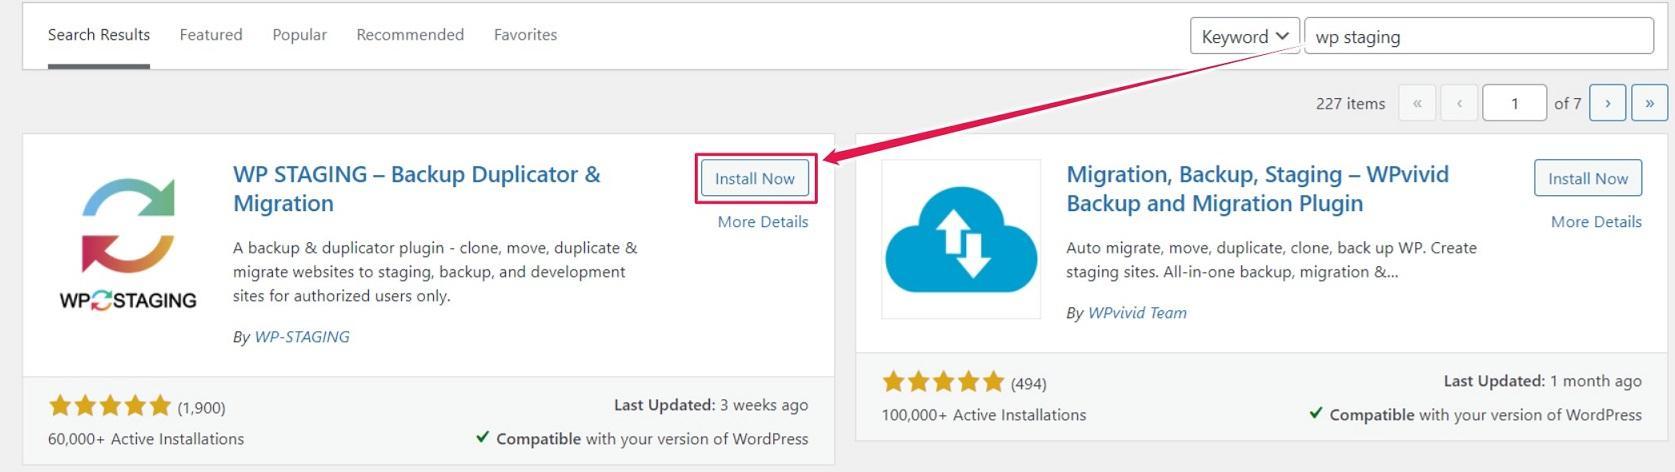
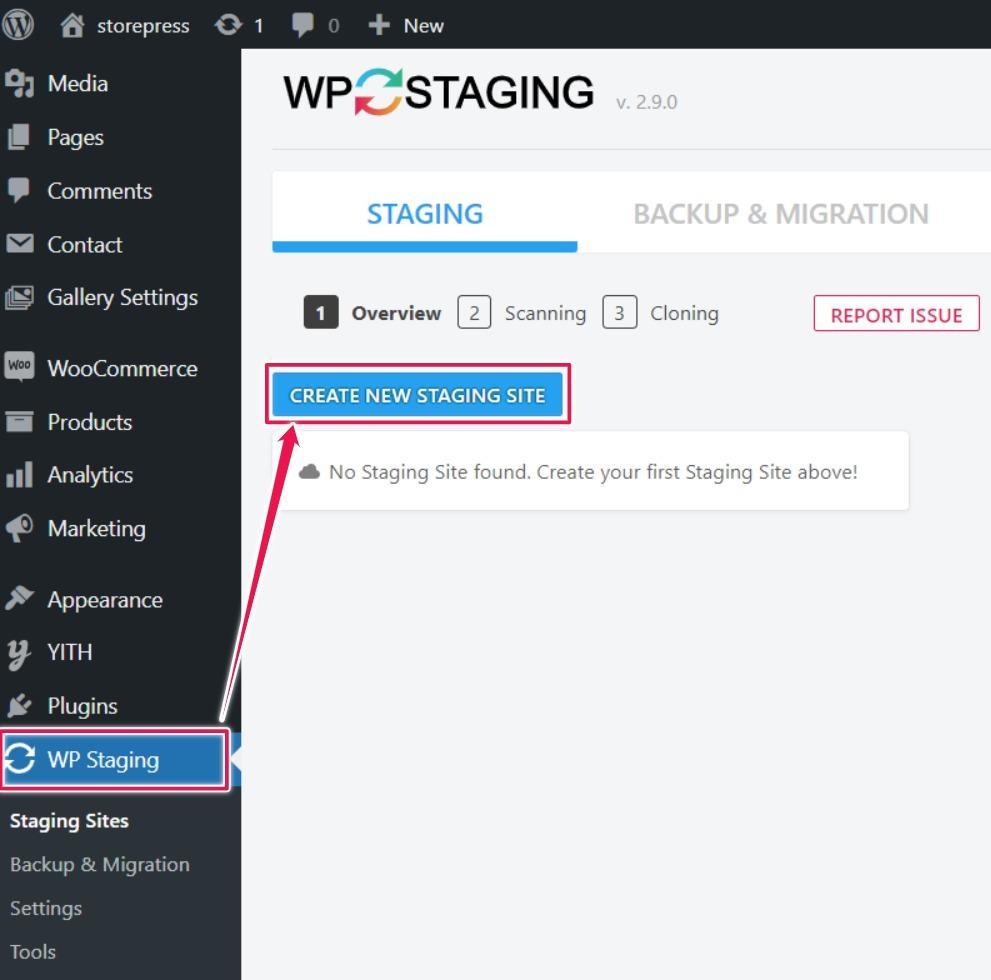
- Then navigate to the WP Staging tab.
- Click on the Create new staging site button.
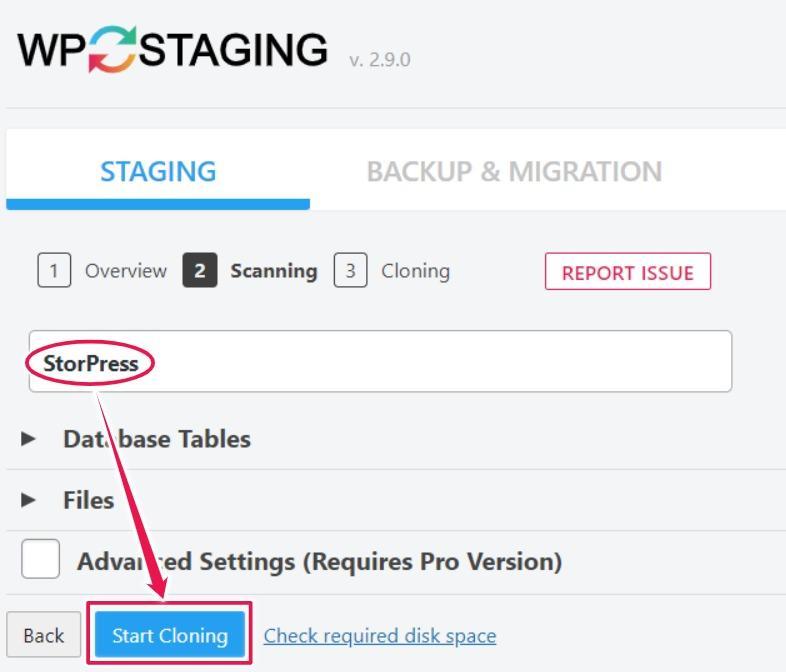
- Give your staging site a name and hit on the Start Cloning button.
For demonstration purposes, we are giving the site name ‘StorePress.’
This process might take a few minutes, depending on how large your site is. Meanwhile, you’ll see a progress bar that shows it is still working. Once the process is completed, you’ll be ready to use your new staging site.

At this stage, you need to log in with your admin credential to access the newly created staging site.
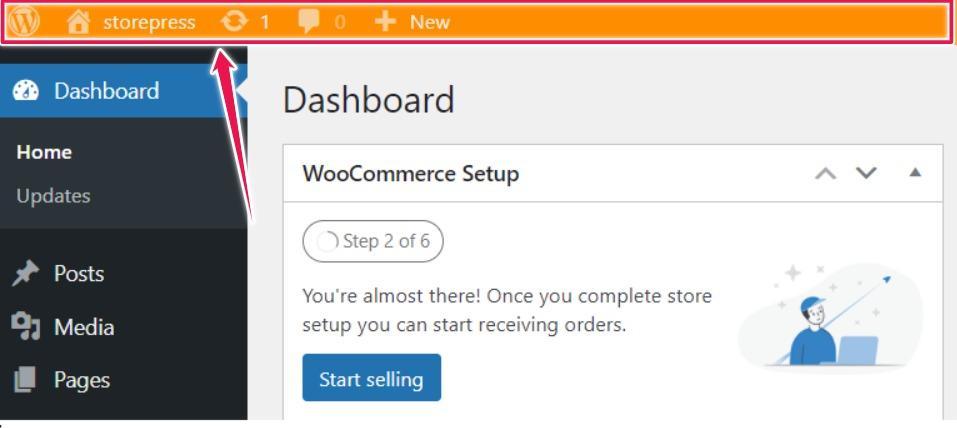
Note: you can differentiate your staging site by looking at the orange color admin bar.
02. Set up a local staging environment
We have used online staging sites for both of the previous methods. However, you can also set up a local staging site. You can customize your site offline and get much faster access to the development.
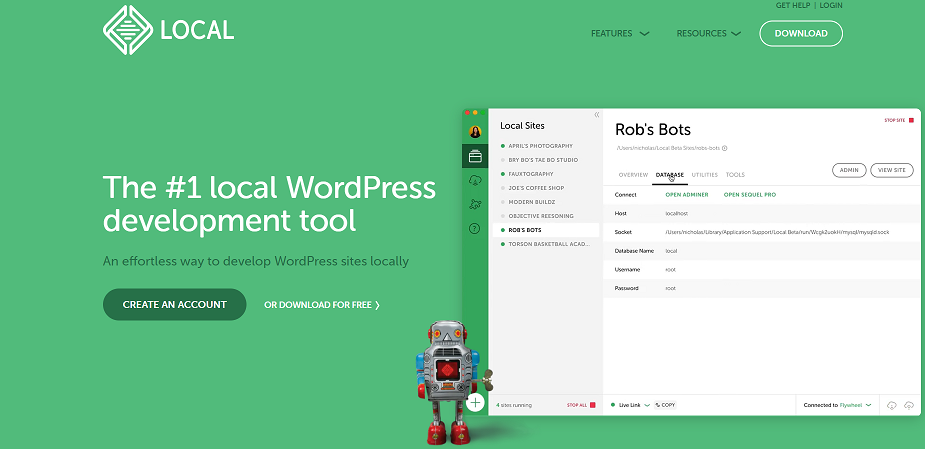
One of the popular options involves using a tool such as Local. This tool turns your computer into a hosting environment, and only those who have access to your computer will be able to use it.
To create a staging site for your WooCommerce store with Local, follow the below steps:
- Download and install the software.
- After that, you’ll be guided through the steps needed to set up your local development site.
- Then you need to set a name for your site.
- Choose a username and password for your WordPress account.
- Wait for the setup process to finish.
- Now you’ll be able to access your staging website from the Local interface.
With the help of this tool, you can make changes, test new functionality, export your site, and manually upload it to your web hosting server. If your website is hosted on WPEngine or Flywheel’s servers, you will be able to push those changes to your live site.
Note: You have to transfer your live site to your local staging environment. By default, you only get a classic WordPress installation.
Should you create a staging site manually?
Another way of creating a staging site is to create it manually. For a WordPress beginner, it can be time-consuming and pose problems. It will take you multiple steps to create a staging site in this way.
The different steps include making subdomain and FTP accounts, importing your database, and hiding the staging site. In case you make a mistake in any of these steps, the task of creating a staging site will be more difficult.
That’s why we suggest you should only create your staging site manually when you are confident. Else, it will be best to work with your hosting service support agents.
03. Build a staging site through a web host
Some of the best hosting companies offer 1-click staging websites, including built-in staging sites as a part of their service. Choosing one of these hosts is your best option to create a staging site without hassle.
Dreamhost, WpEngine, SiteGround, Bluehost, and other managed WordPress hosts offer built-in solutions for staging sites. Your best bet is to contact your hosting provider for help or check out their documentation.
- Create a staging site using DreamHost
- Create a staging site using SiteGround
- Create a staging site using WPEngine
- Create a staging site using BlueHost
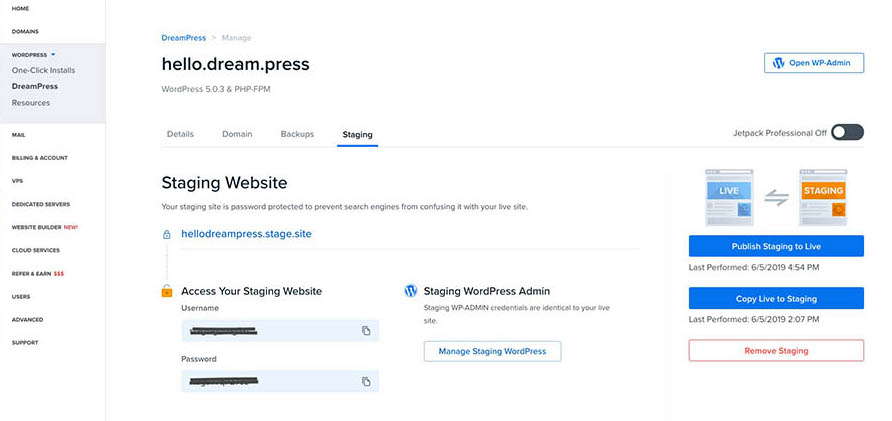
Create a staging site using DreamHost
For demonstration, we’ll walk through the process of building a staging environment in Dreamhost. The steps are similar for other hosts.
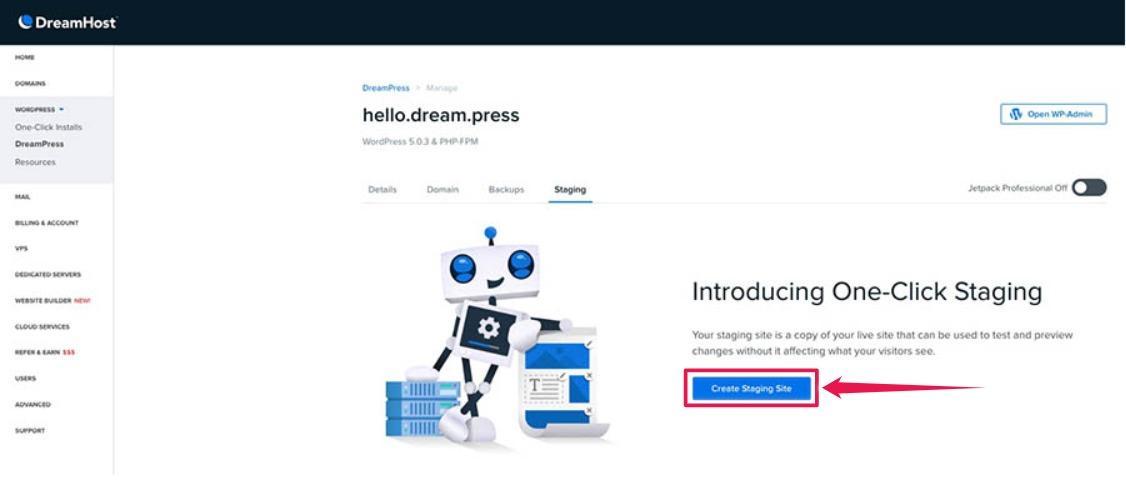
- Head to your control panel and navigate to Dreamhost —> Manage
- Click on the Create Staging Site button.
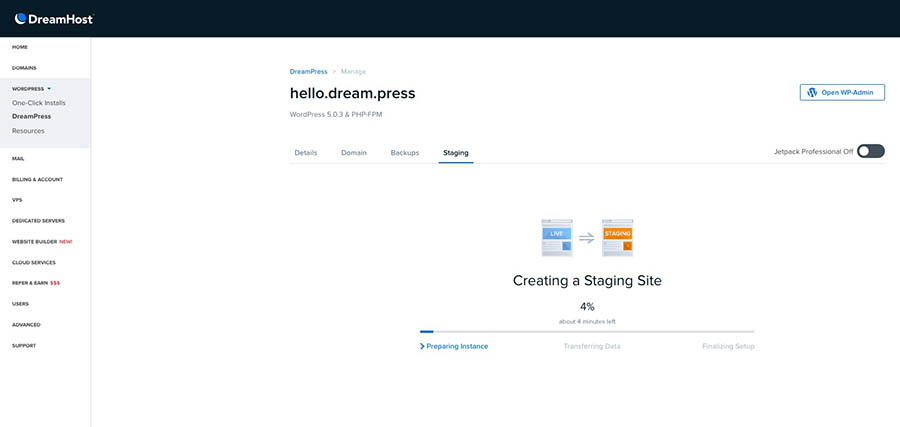
Your staging site will be set up on a free subdomain in just a few minutes. Once it’s ready, you’ll receive an email at the connected email address to your Dreamhost account.
You can set your username and password in the staging tab of your hosting dashboard.
Hosting is not the only way to set up a staging site. If you are not using any popular host service, we also have a solution to help you.
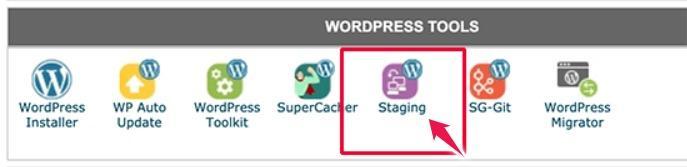
Create a staging site using SiteGround
- Head to your SiteGround cPanel dashboard.
- Scroll down to the WordPress Tools section and click on the Staging icon.
This will take you to the staging sites page. You need to add your website to the staging site manager at this stage. Click on the Add WordPress button to continue once done.
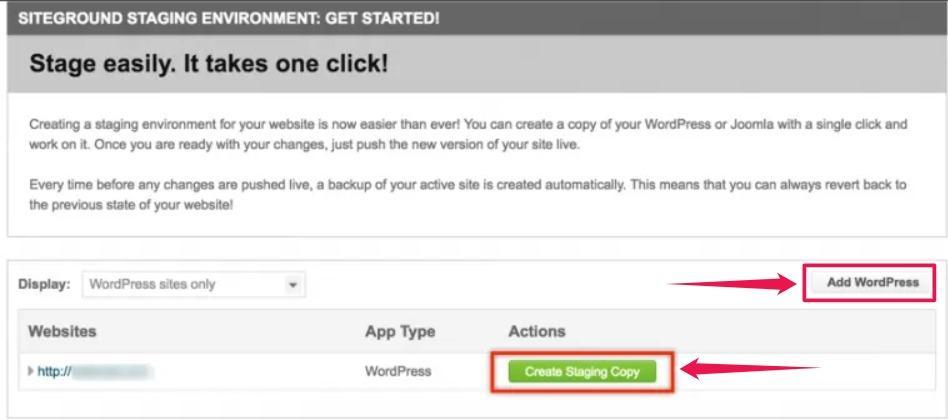
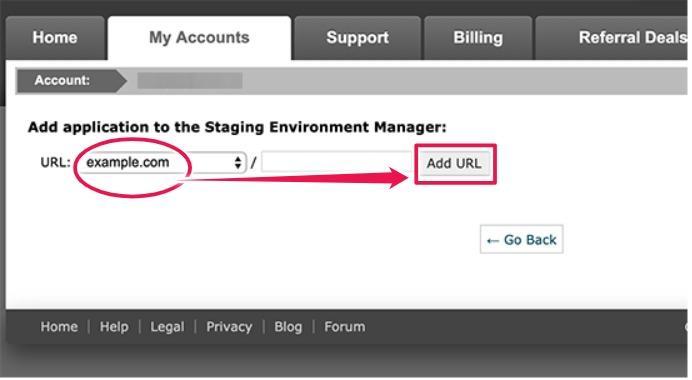
Here you need to select the URL where your site is installed. If your site is installed in a sub-directory, you can add that in the right field. Click on the Add URL button to move forward.
The staging site manager will detect and add it to the page. Click on the Create Staging button to continue.

You’ll see a popup that allows you to provide a username and password to protect your staging site.
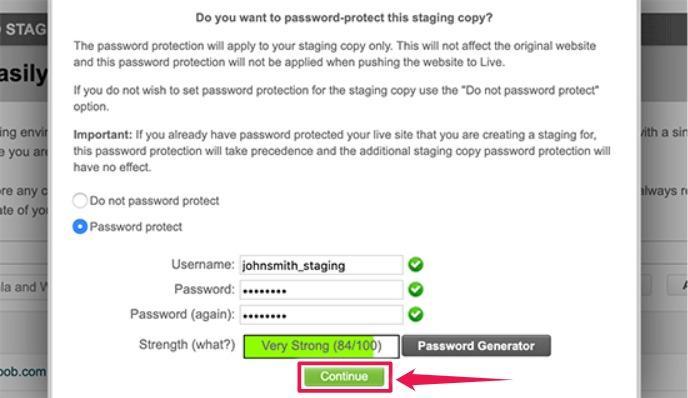
SiteGround will now create your staging environment for your WooCommerce store.
Create a staging site using WPEngine
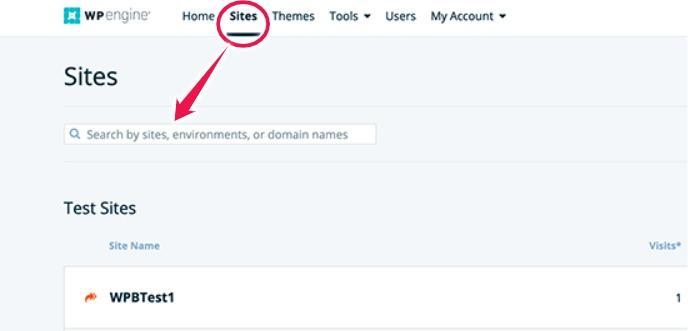
- Navigate to your WPEngine dashboard.
- Click on the Sites page and select your site from this page.
This will take you to your site dashboard. Click on the Add Staging link from the left column.

You need to enter a name for your staging website under the Create New tab. This name will be the subdomain of your staging site. Then hit on the Create environment to continue.
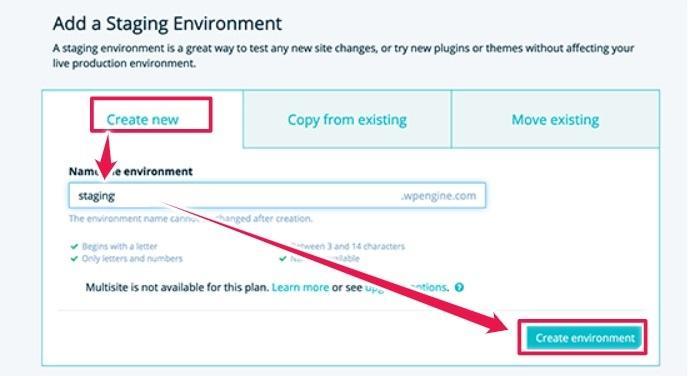
At this stage, WPEngine will create a staging environment for you. But this environment doesn’t have any content on your live site.
Click on the Production from the left column to switch to your production environment.
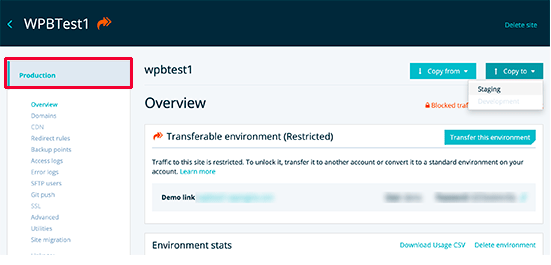
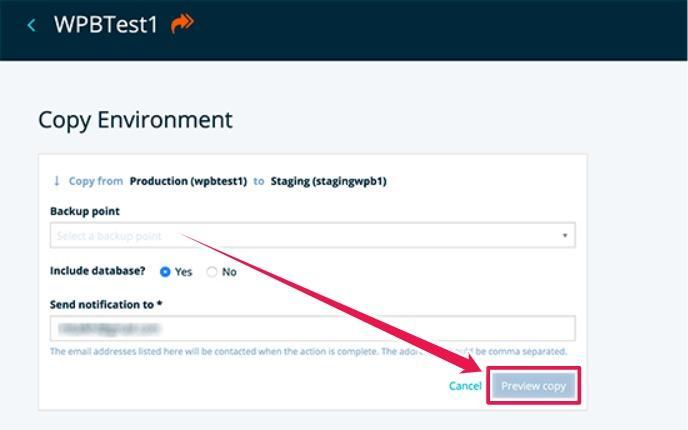
After that, select the backup point you want to use for your staging website. If you are not sure, select the most recent backup of your site. Click on the Preview Copy button to continue.
Now a warning popup will inform you that you are copying the source website to the staging environment. Click on the Copy Environment to proceed.
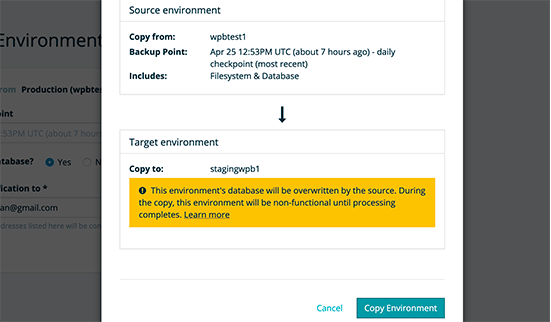
WPEngine will now copy your live site to the staging environment. Once completed, you will get an email notification.
Create a staging site using BlueHost
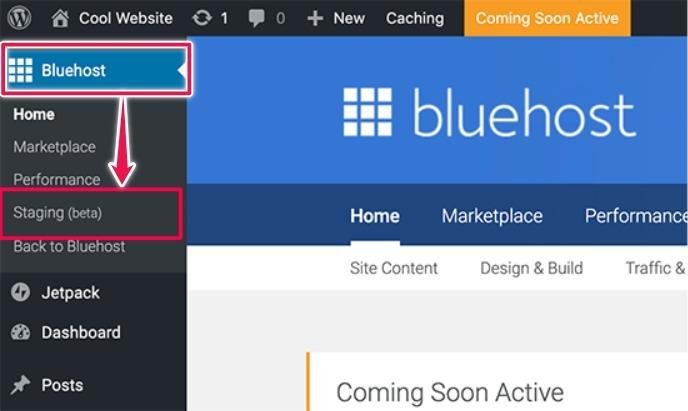
- Head to your WordPress admin dashboard.
- Navigate to Bluehost from the left side menu.
- Click on the Staging.
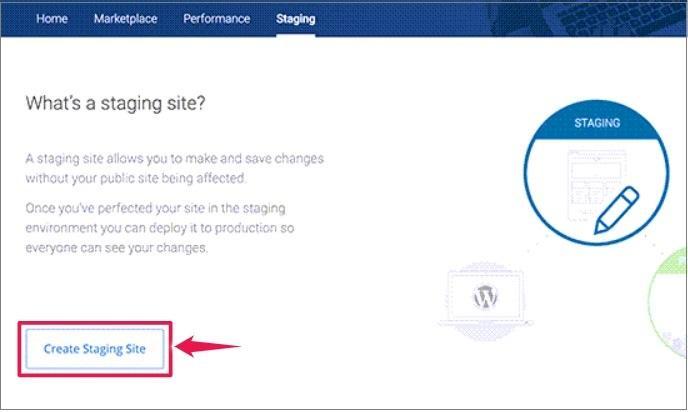
This will bring you to the staging site wizard. Then you need to click on the Create Staging Site button.
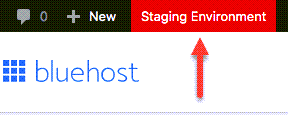
Bluehost will now prepare the staging environment. Once done, you will get a successful message with a link to visit your staging website. Click on the Go To Staging Site to continue.

At this stage, you will reach the admin area of your staging website. A red button on top of the admin bar will indicate you are working in a staging environment.
Which method should you choose?
Now you know many different ways of creating a staging site for your WooCommerce site. Are you still wondering which method is the best?
We think the easiest method is to use your web host’s staging tools. This is the easiest and fastest way to create your staging website and push changes to your live site.
If your host doesn’t offer any staging tool, your best option is to use a plugin like WP Staging. This is also a low-tech method to create a staging environment.
If you are tech-savvy, you can try setting up a manual staging site or use a tool like Local. It will give you more control over who can access your website.