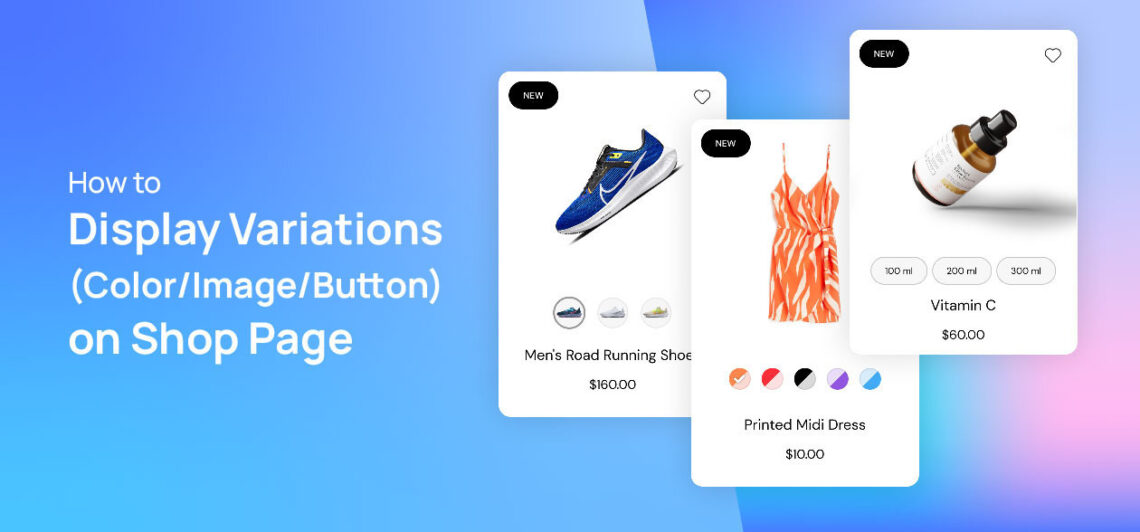
In WooCommerce, displaying variation swatches on the shop page is crucial for enhancing the shopping experience. These swatches allow customers to see different options (like color, size, or style) of a product at a glance without having to click on each individual product page.
Moreover, visual representations through swatches make the products more appealing and engaging. Overall, incorporating variation swatches on the shop page improves user experience, boosts customer satisfaction, and ultimately leads to higher sales conversions.
Adding color variations is one of the best ways to bring more life to your product page.
On the other hand, adding image variation swatches provides a pleasant way to display product variations.
Displaying variations like colors, images or buttons on the shop page for WooCommerce is essential for several reasons:
- Enhanced User Experience: Displaying variation swatches on the shop page improves the overall shopping experience for customers. It allows them to quickly visualize the different options available for a product without navigating to individual product pages, streamlining the decision-making process.
- Increased Engagement: Variation swatches make products more visually appealing and interactive, capturing the attention of shoppers. The ability to see different colors, sizes, or styles at a glance encourages exploration and engagement with the product offerings.
- Faster Decision Making: By presenting variations upfront, shoppers can easily compare options and make informed decisions without spending time clicking through multiple pages. This speed and efficiency in the browsing process contribute to higher customer satisfaction and retention.
- Improved Conversions: Providing variation swatches on the shop page has a direct impact on sales conversions. The convenience and ease of use offered by swatches lead to a higher likelihood of customers making a purchase, ultimately driving revenue for the store.
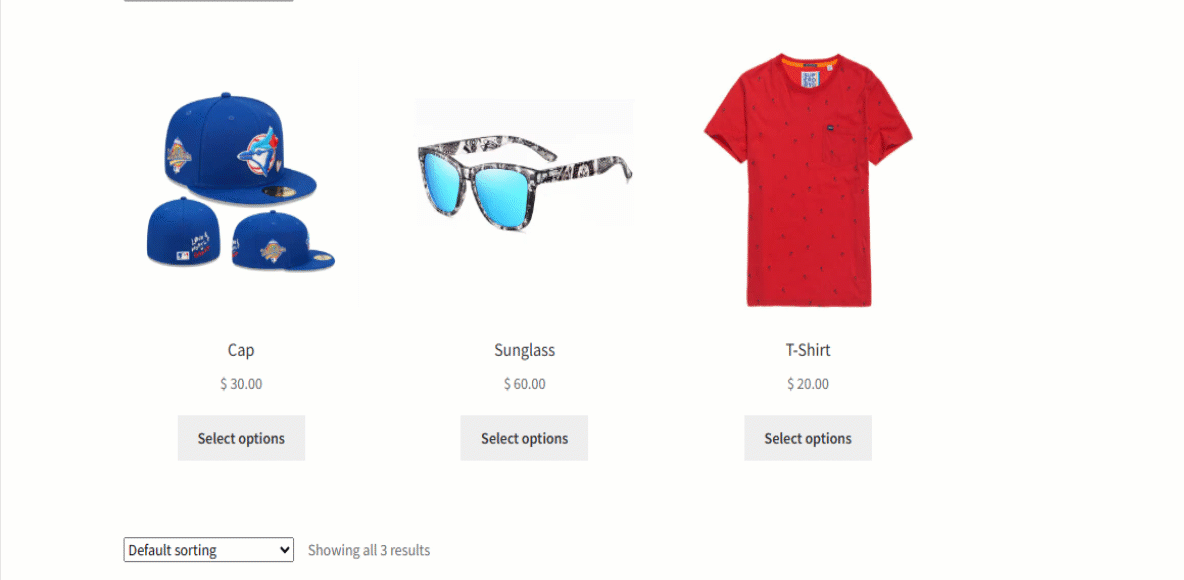
To create a shop page similar to the one shown above, simply adhere to our straightforward instructions. We will walk you through each stage with concise explanations and useful screenshots to assist you along the way.
So, without further ado, let’s dive into it.
Enable Variation Swatches on Shop/Archive Pages
Step 1: Attribute setup
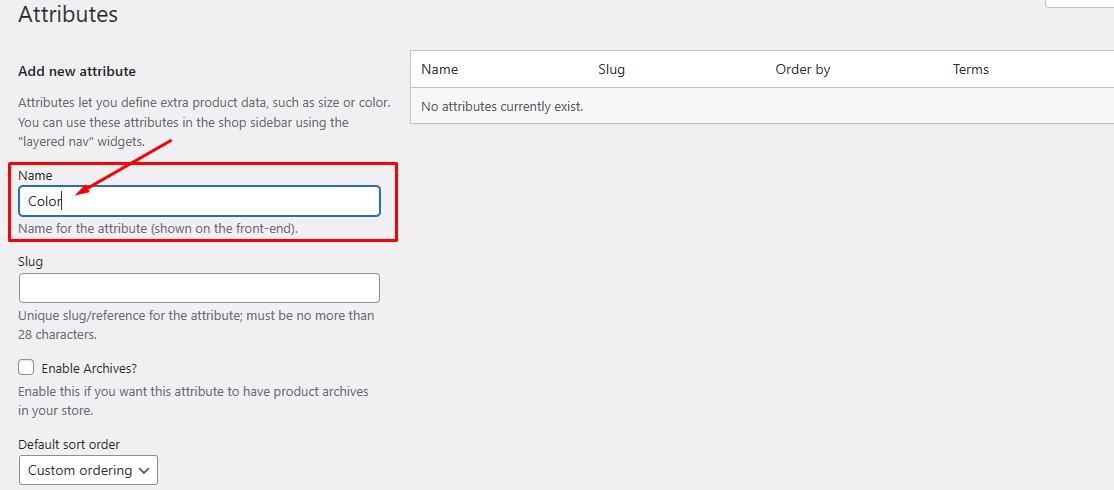
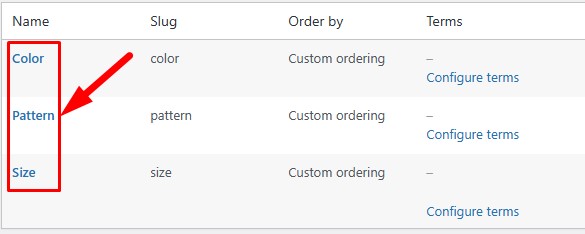
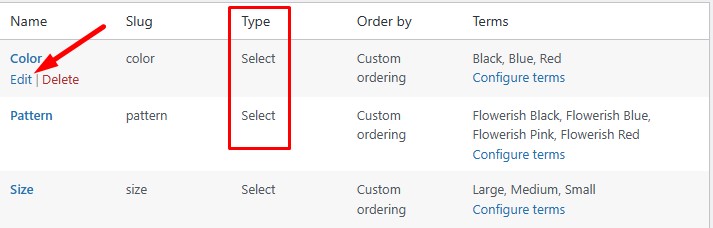
Let’s create some attributes first. For our demonstration purpose, we are going to create Color, Pattern & Size attributes. You may create as many attributes as you need.
Create Attributes
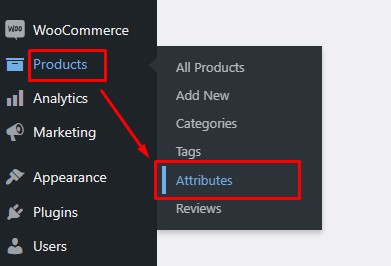
To create an attribute > Go to your Dashboard > Head to the Products section > Click on Attributes.
Next, enter the name of your Attribute such as “Color” in the provided box shown below.
In this way, let’s create our Pattern & Size Attribute.
Ok. Now it’s time to configure each attribute.
For Color Attribute:
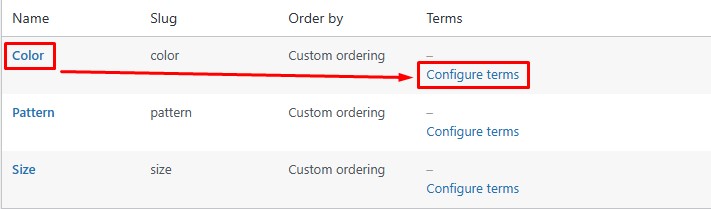
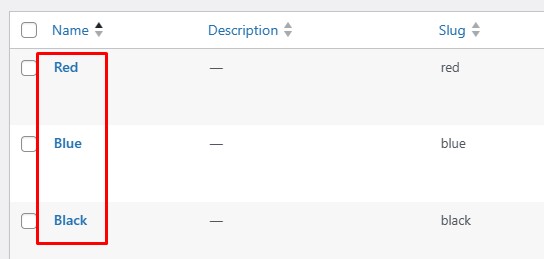
For instance, we want to make some colors under “Color Attribute” such as Black, Blue & Red.
To do so, click on “Configure terms” located beside the Color Attribute.
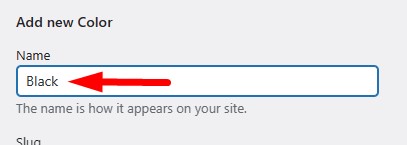
Now, type your color name in the given box under “Add new Color”.
In this way, create the rest of the colors one by one.
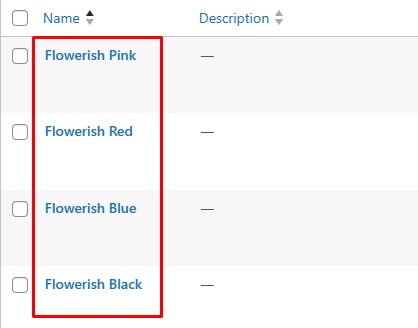
Now, create some patterns the way you created colors above.
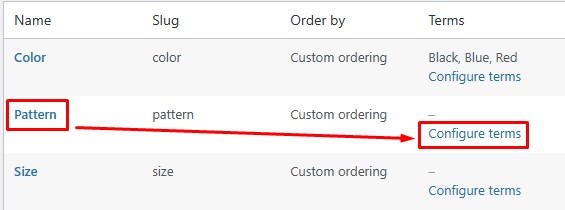
We are going to create our Pattern with the name “Flowerish Pink”, “Flowerish Red”, “Flowerish Blue” & “Flowerish Black”.
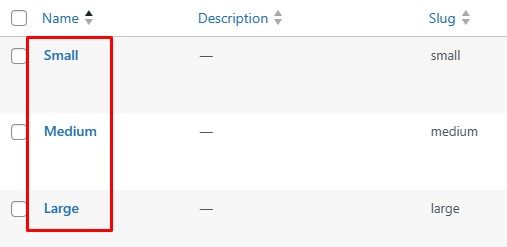
Lastly, let’s make some size of the product as the same process stated above.
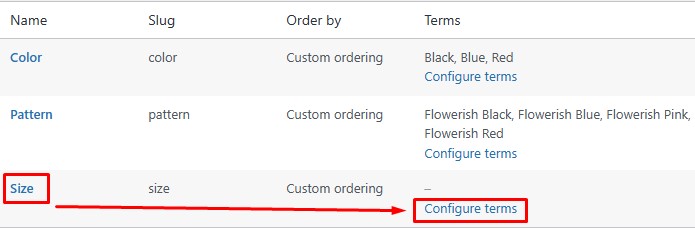
In this case, we have made 3 types of sizes named “Large”, “Medium” & “Small”.
OK, that’s it for the step 1. We have completed the primary step nicely.
Step 2: Product Create
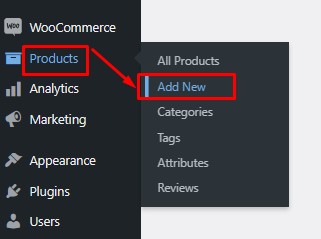
Now, it’s time to upload your product. To do so; Go to your dashboard > Navigate to Products > Click Add New.
Type your product name in the box titled “Add new product”. In this case, our product name is “Sunglass”.
Then upload a product image by clicking “Set product image”.

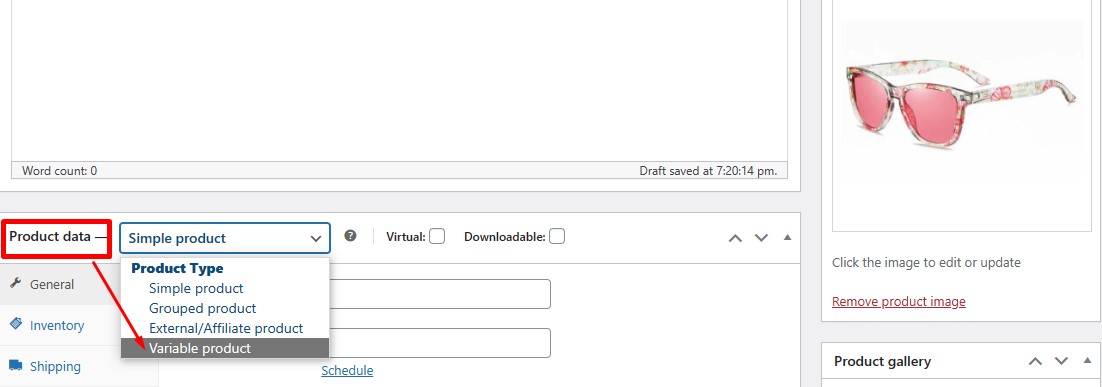
After uploading your image, move on to “Product data”. Here you will find a dropdown list. Select “Variable product” from the list.
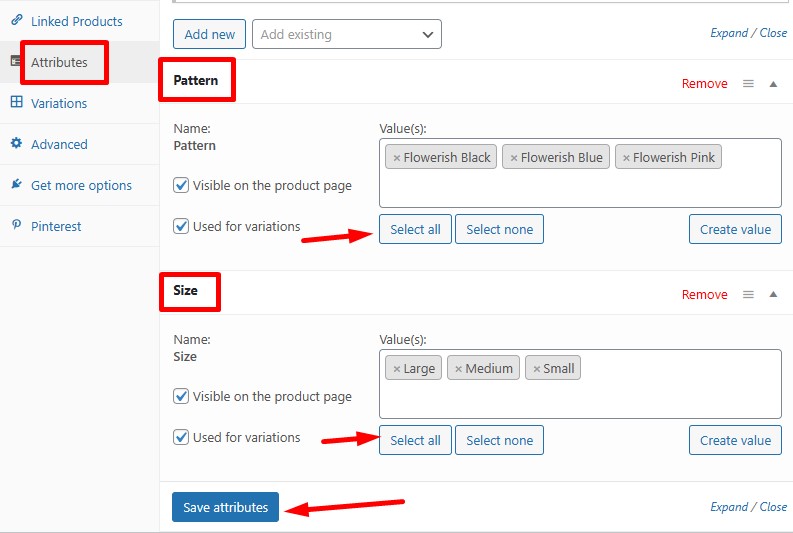
Now, Navigate to the “Attributes” section to select Pattern and Size. Then press “Select all” to show all the available values. You can pick the values you want for this product.
After picking up your values from the list press “Save attributes”.
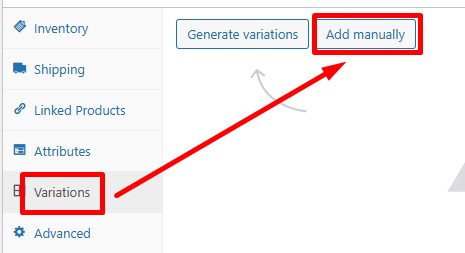
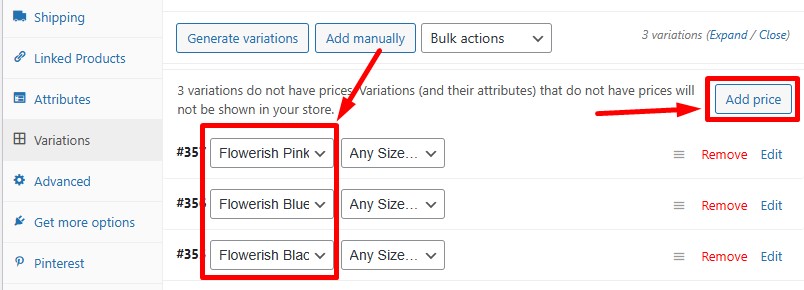
After that, Head to the Variations option to create your product variation. Here, you can find 2 options to create variations.
- Generate variations
- Add Manually
The first option will generate the highest possible variations automatically on the basis of your attributes set-up.
But we prefer to create our product variations with the second option “Add manually”.
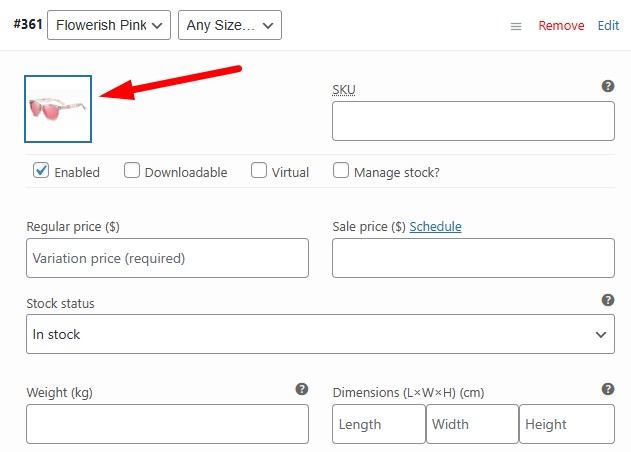
After creating variations manually, you need to set the product price in general or you can set the price for each item.
Now, add a picture of each variation. There are some other available options if you want to use it.
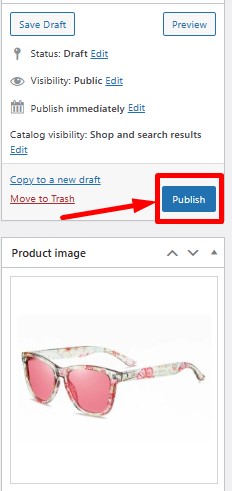
When you’re done, publish the product by clicking the “Publish” button.
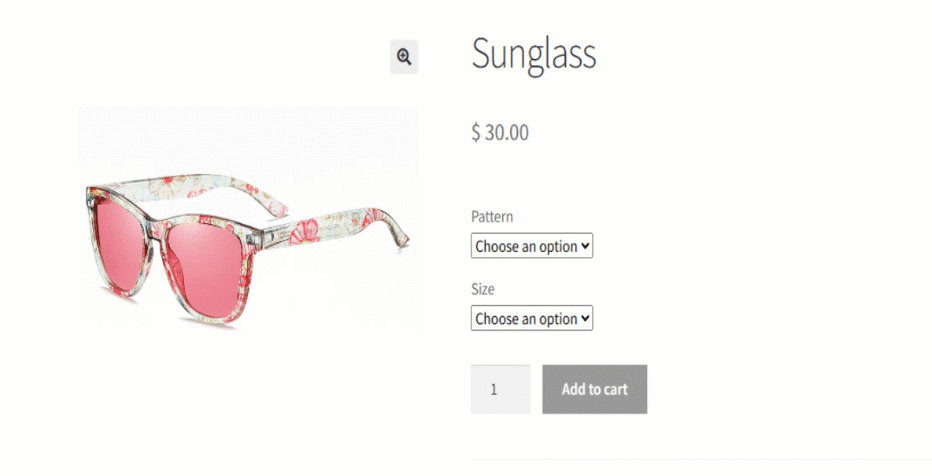
Now, go to your product page and see your product. Certainly, you can see your product with the default dropdown options. Right?

Let’s create some other products in this way. This time we want to create 2 more products such as Cap & T-shirt.
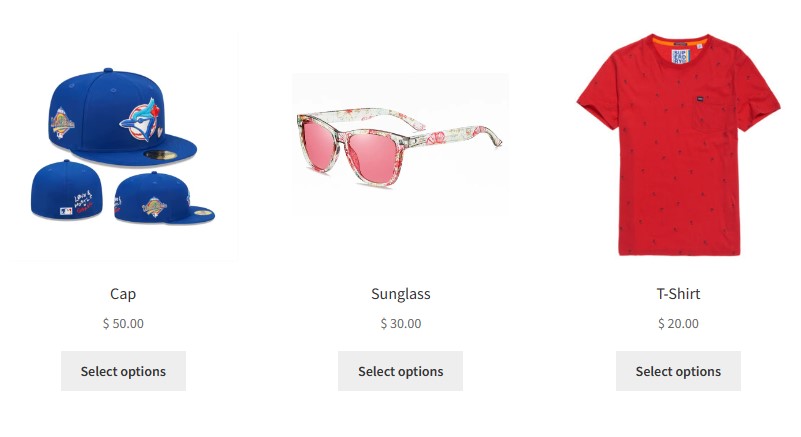
So finally, we have successfully created our products. Now, it’s time to install a plugin to make our products awesome.
Step 3:
Download “Variation Swatches for WooCommerce” Plugin

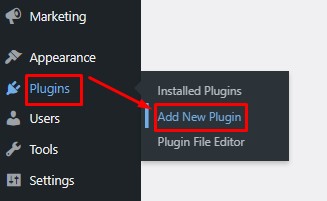
To download the plugin, return to your Dashboard, then navigate to the Plugins section and select “Add New Plugin”.
Type “Variation Swatches” into the search bar. You’ll find “Variation Swatches for WooCommerce by Emran Ahmed,” the leading plugin in the Variation Swatches category. It boasts over 300,000 active installations, with more than 10 million downloads and over 900 positive reviews.

Click the install button and then activate it.
After the activation of the plugin, the default dropdown options of the product page convert into beautiful button Swatches.
To make it more attractive, we just need to configure our attributes. Let’s do it.
Step 4: Attributes Configuration
Navigate to the Products option > Click on Attributes

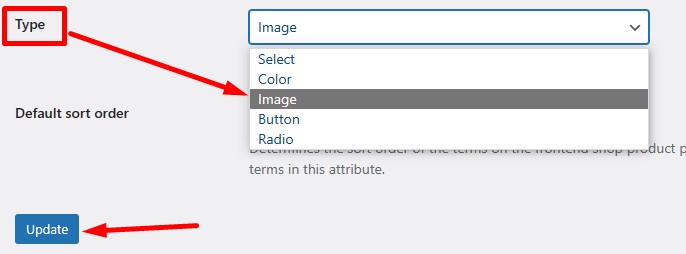
We want to change the Type option first for the Color and Pattern attributes. To do so > click on Edit under the Color attributes.
Change the Type to Color. Then press Update.
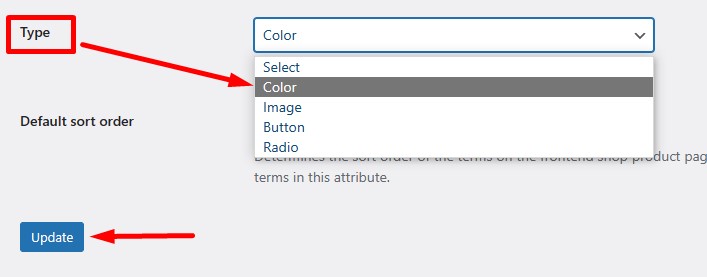
With the same process, we will change the Type of the Pattern attribute to the Image. Then click on the Update button.
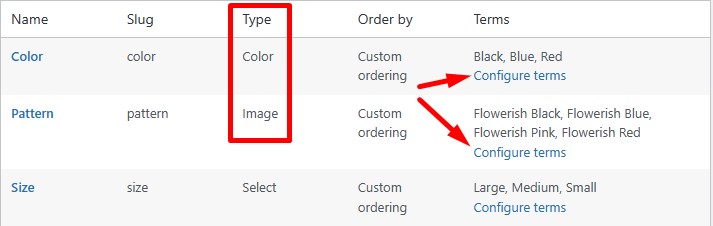
After changing the Types, it’s time to configure terms for each attribute.
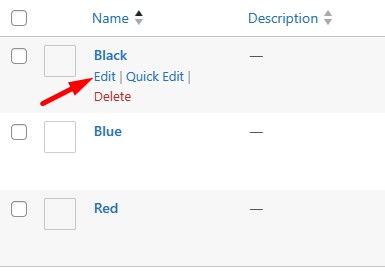
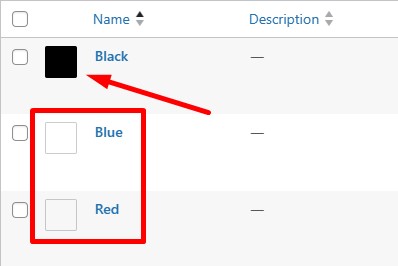
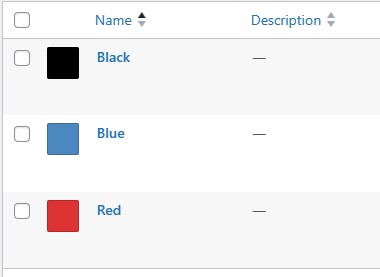
Configuration terms for Color attribute: Click on Configure terms of color attribute to make some important changes.
To add Black color > click on Edit option under Black.
Choose your color from the color picker. Then press update.
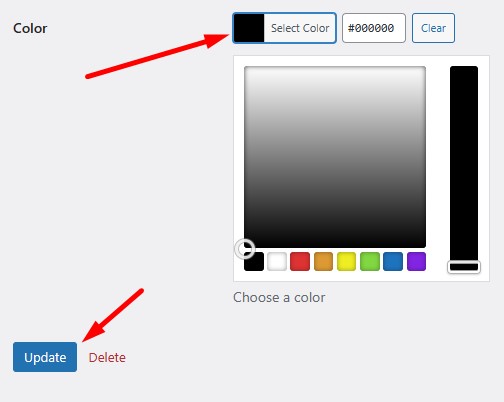
Look, your color has been added beside the name of the color. Let’s add the rest of the colors with the same process.
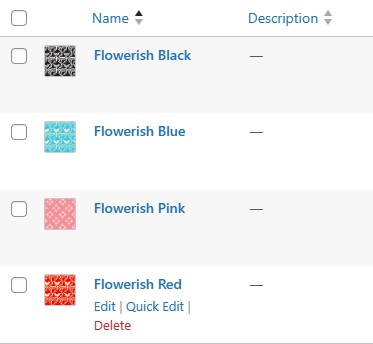
The color configuration has been completed. In this way, we should configure terms for the Pattern attribute also.
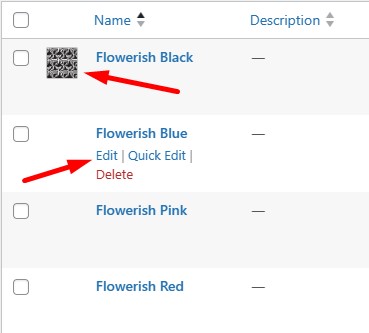
Configuration terms for Pattern attribute: To add an image for the Flowerish Black pattern > Click on the Edit option.
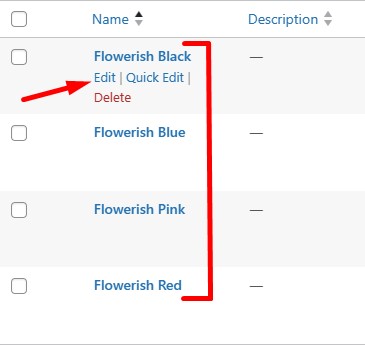
Upload your image > then press update.
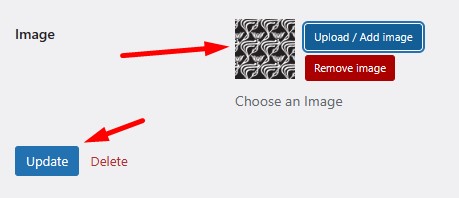
See! The image for the Flowerish Black pattern has been added nicely. Let’s add the rest of the images for the pattern with the same process.
Well done! If you have come across so far, you must have added the images for the pattern attribute.
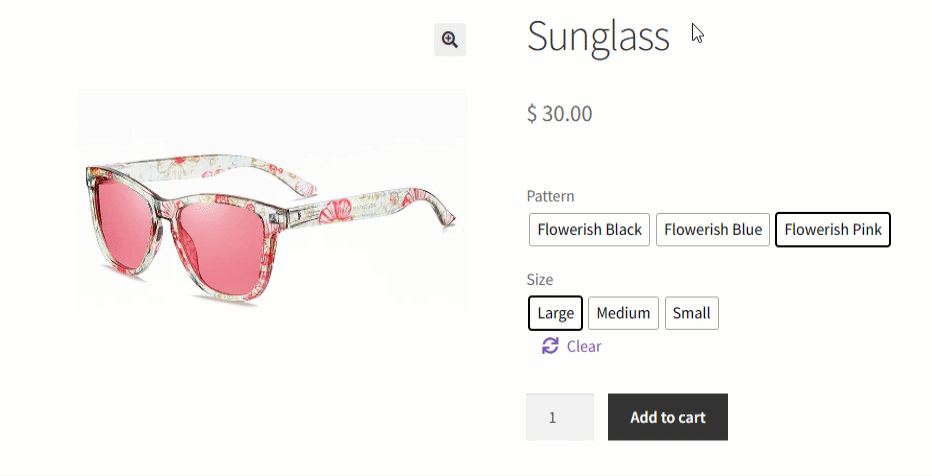
Now, go to your product page and refresh it. Look! How beautifully your buttons have turned into some beautiful swatches!
But wait, This awesome variation swatches is only for your product page. What if these variation swatches appear on your shop page also?
To make this happen you need to purchase the Premium version of the plugin. Let’s purchase the plugin and make our shop page more attractive that will boost our sales.
Step 4: Purchase “Variation Swatches for WooCommerce-Pro” Extension alongside the free Plugin
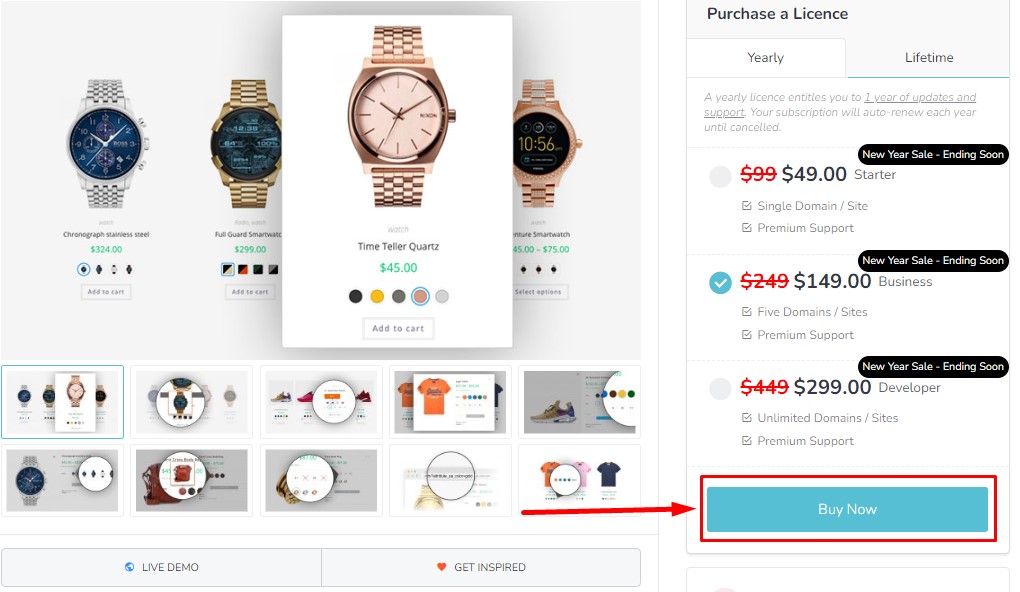
To get the Pro version of WooCommerce Variation Swatches plugin, Go to the GetWooPlugins> Click on Plugins > Then click Variation Swatches for WooCommerce > Press the Buy Now button.
Once you click on the Buy Now button, you’ll be prompted to enter your personal information and proceed with the payment process.
After successfully completing the purchase, you’ll receive a zip file containing the plugin. Download this file to your device.
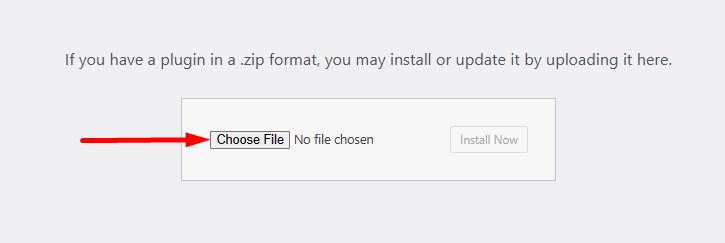
Now, go to your WordPress Dashboard, navigate to the Plugins section, and click on Add New Plugin.

Here, you’ll be required to upload the zip file of the plugin that you downloaded in the previous steps.

Click on the Choose File to upload the zip file.
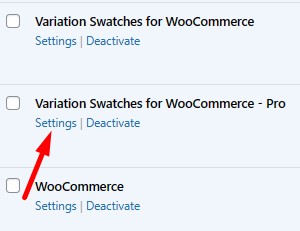
Once you’ve uploaded the pro version, it will be displayed alongside the free Variation Swatches for WooCommerce plugin.

After activation, navigate to the settings option of the plugin to make some changes.
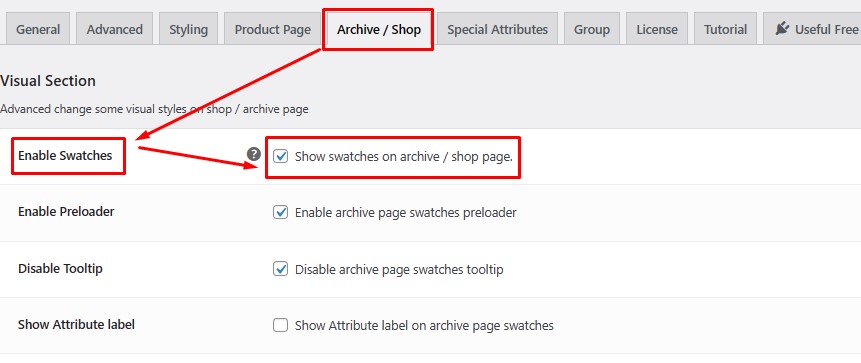
 Click on the Archive / Shop tab > Now you will find “Show swatches on archive/shop page” option beside the Enable Swatches option > Make sure the box is checked.
Well done! You have successfully set up the pro version.
Congratulations! Finally, you have completely arranged your shop page to display variation swatches.
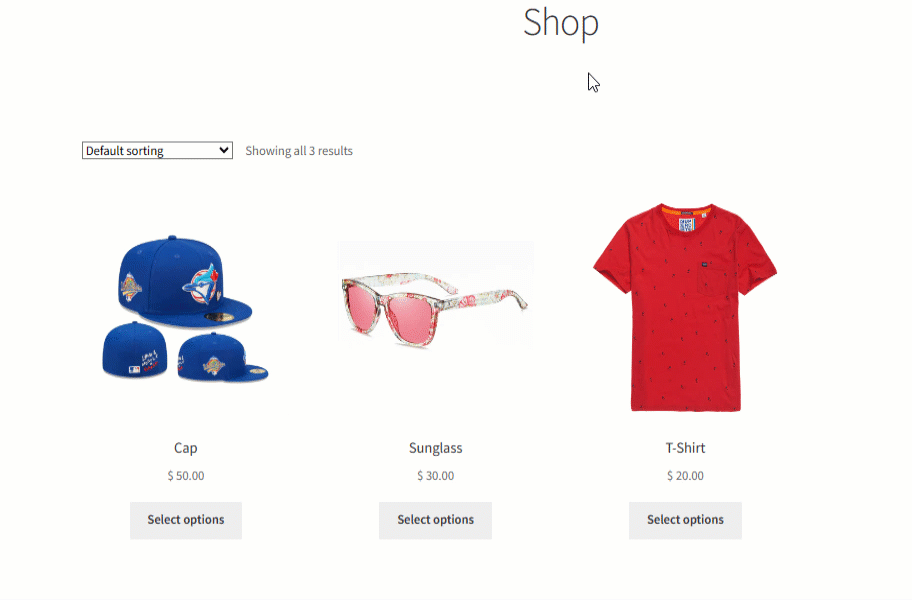
By applying the procedure described above you can design your shop page with beautiful swatches. Incorporating variation swatches on your shop page will undoubtedly boost your sales, as it provides customers with comprehensive product details and an attractive visual presentation. If you have any questions regarding this, feel free to reach me out.
While optimizing your product experience is a great start, long-term success often depends on how well your store attracts and converts traffic. That’s where working with the best digital marketing agency who are WooCommerce-focused or building a structured marketing strategy becomes valuable.
Hope this tutorial is helpful for you. If you have anything to ask, just leave your comment here. We will try our best to give you the best possible answer and solutions from our side.